In this article, you will learn some Primavera P6 Tips and Tricks And Tricks, which defines the types of activity dates available in the module & how they are used to plan and schedule your project. Also, these Primavera P6 tricks will help you to review time schedules quickly.
Top 12 Primavera P6 Tips And Tricks & Primavera P6 Tricks Shortcuts:
1.Find Your Activities In Primavera P6
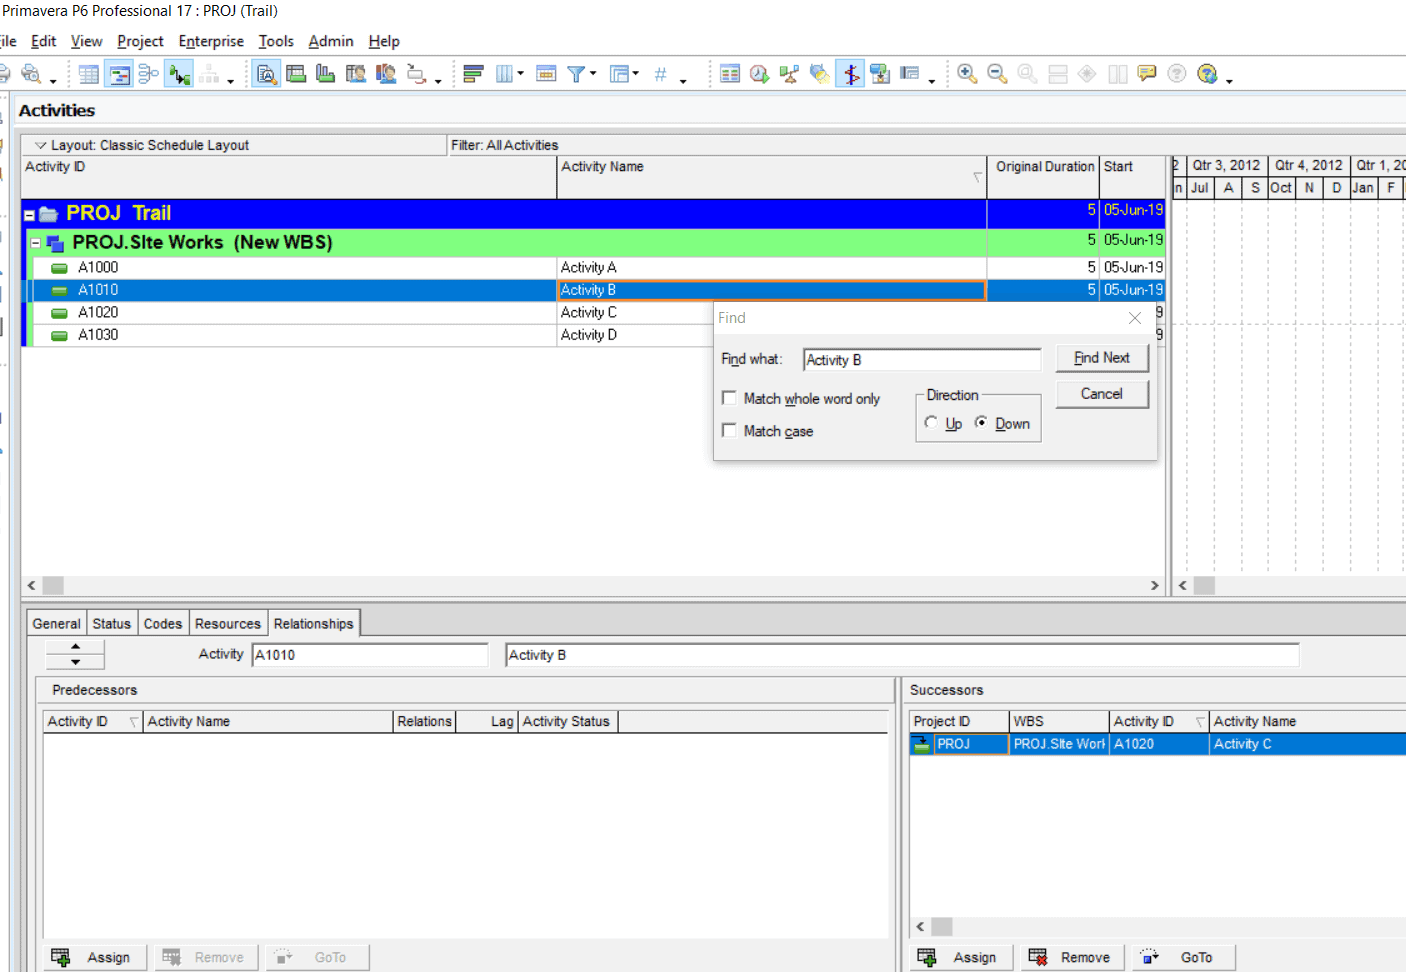
To search for projects’ activities manually is time-consuming & impractical. It’s easier to use Ctrl + F to search for the activity name within your activities.
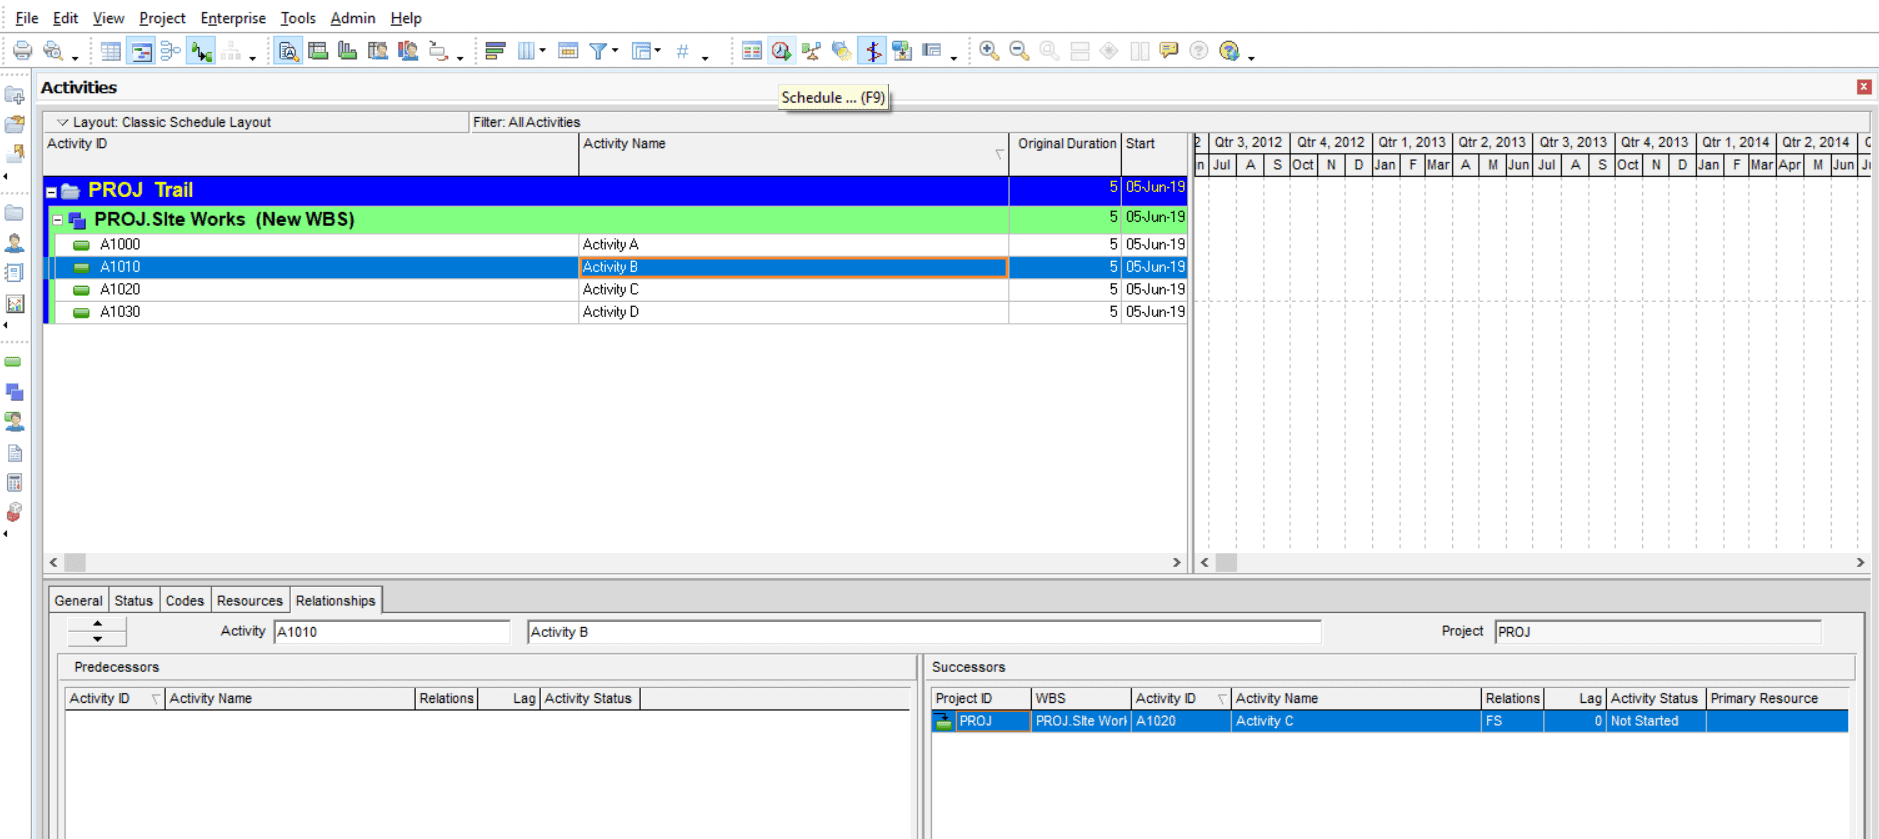
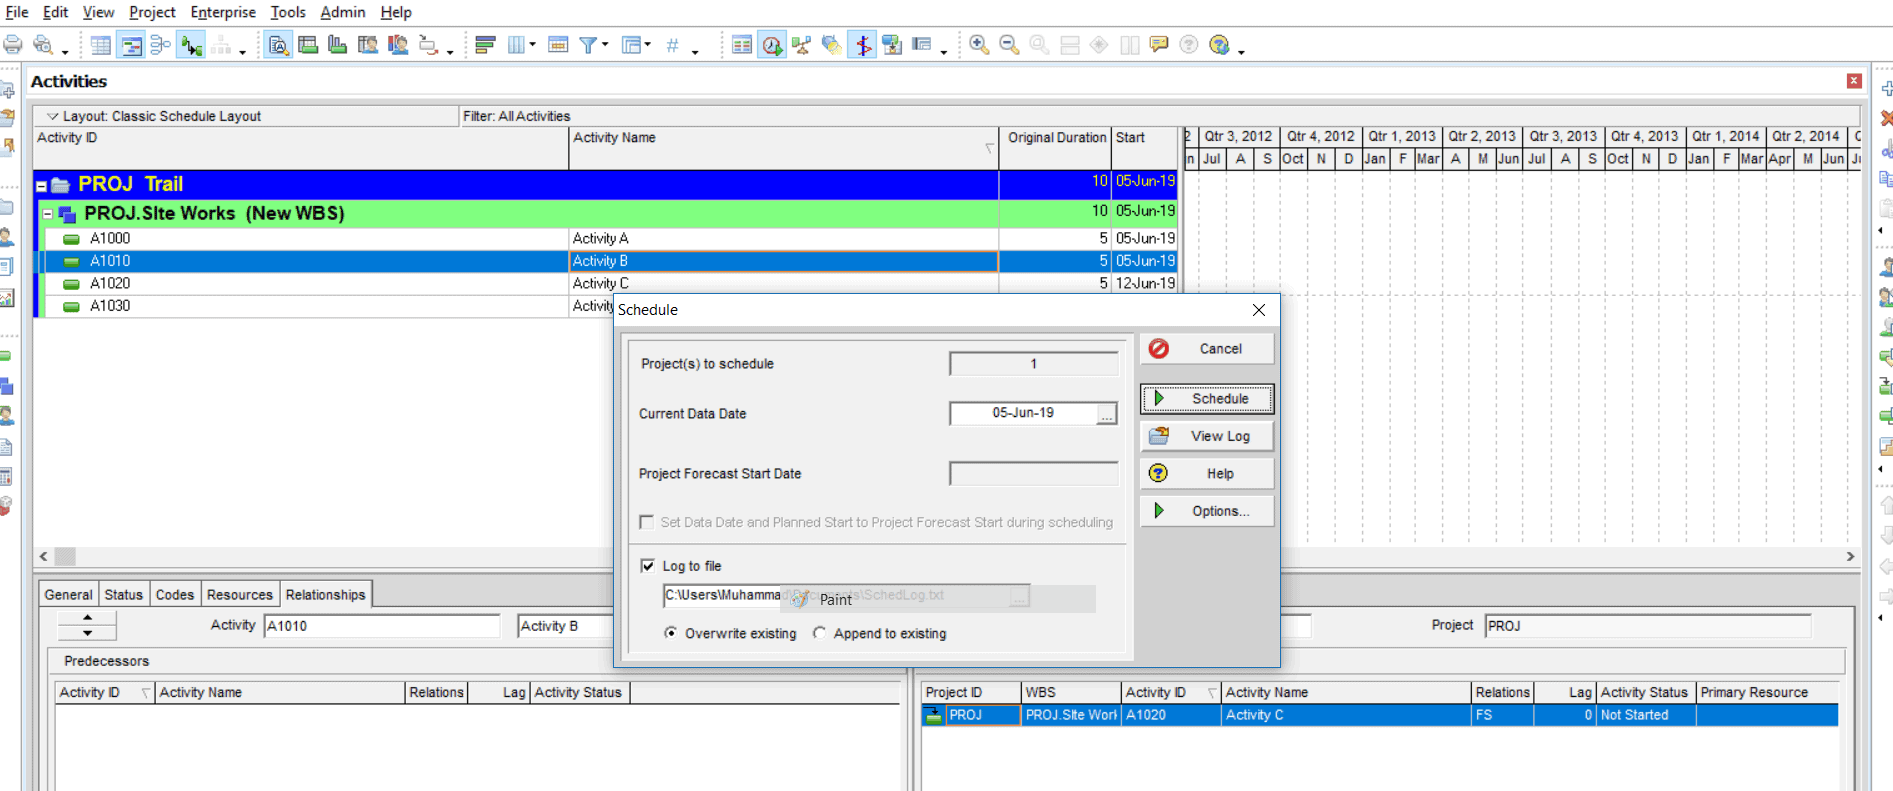
2.Use “F9” To Schedule In Primavera P6
One of Primavera P6 Tips And Tricks is when you want to run a Schedule (P6 use Critical Path Method ) for your project, you need to click on at least three different buttons. However, click on F9 will take you to the Schedule immediately. Moreover, this function will show the changes within the schedule, which is a perfect tool for reviewing entries for errors & missing information.
3.Close Open Projects In Primavera P6
One of top of P6 Shortcuts is when you want to close any open projects, you just need to click on Ctrl+W
4.Link Activities in P6 (Creating Finish To Start “FS” Relationship)
One of the most useful P6 Tips And Tricks is when you want to create Finish To Start relationship between activities, you just need to click in two activities or more and right click and then click on Link Activities.
5.Check Open End Activities
One of the P6 Tips And Tricks is to check and remove open ends in the activity network. A good starting point is to look for the list of activities without successors/predecessors in the Scheduling/Leveling Report, which can be shown on the Schedule window (F9 or Tools >Schedule>View Log).
6. Fill Down To Copy Data
Suppose that we have ten activities & their descriptions are very similar. So instead of typing all these descriptions, you need to select all these activities but remember you should first click on the columns that you want to be filled in the other rows & then click on Shift bottom & then select the other rows.
Then right-click on the selected area and choose to fill down.

7. Disable Auto Reorganization
Auto reorganization applies to activities on the window-level data only; For example, activities in the Activities window may be reorganized using this feature, (For Example: if you filter for a number of activities, and your changing the original duration of each one of these activities and sorting by the original duration, then auto reorganization will change the organization every time you change the original duration)
To Disable Auto-Reorganization: With any window active, choose Tools, Disable Auto-Reorganization
8. Renumbering Activity ID For Entire Schedule
Changing the activity ID for the entire schedule manually will take too much time, so you can do it automatically:
A-Select the activities
B-Click on the “Edit” menu
C-Click on “Renumber Activity IDs”
D-Write”Prefix”,”Suffix”,”Increment Value”
9. Longest Path vs Total Float
The objective of the Critical Path Method is to obtain the duration of the project by extracting the longest path of activities from the start to the end of the project. You may have found that P6 has two parameters for deciding the critical path in the schedule. F9 then Schedule Options, While each yields equal results under boundary conditions, most of the time vital methods vary drastically when determined on the basis of one criterion over another.
This means that if the 200-activity plan is delayed and eighty of its activities have negative TF values, the critical path defined by the primary technique would be made up of 160 line items and will not allow us to differentiate between activities that will have an effect on the project’s completion forecast. The Longest Path technique, on the other hand, would only display activities that drive our current completion date and keep the list of “critical” activities to a minimum.

10. Date and Time Format
You may set the unit of time to days, weeks, months, or years for monitoring activities on a schedule. By navigating between units, you will be able to monitor the display of activity information. Click Edit, then User Preferences, and change it accordingly.

11. Replicate the same particular predecessors
A-select the activity’s predecessors

B-Click “Assign”

C- You have now successfully selected all the predecessors.
D- Select another activity and hit the ” + ” button to assign.
E- You’re now replicated the same predecessors.
12. Schedule Automatically When A Change Affects Dates
It only makes sense to let P6 calculate the activity dates each time we add or modify logic when linking activities. Even changing the duration of a single activity with no predecessors or successors will cause the calculation to be triggered because the Finish date of the new activity is visibly different from before. There is no excuse for submitting a schedule that has not been calculated, but many users forget to do so after making a few last-minute changes.
I’ve attached a screenshot below in case you don’t know where to look for this setting. Take note of the fact that the fourth box from the top is now checked:

However, when updating a schedule, I disable this option. Why I do this is a little technical, but the short answer is that P6 may reject actual dates I try to input if the computer is constantly recalculating dates on the remaining tasks. As a result, this method is only applicable for creating the initial schedule.
Download Free Primavera P6 Tricks PDF
Get Primavera P6 Advanced Tips Guide
Read Also
Primavera P6 Shortcut Keys
Look ahead Filter in Primavera P6
Schedule % Complete In Primavera P6
Free Float In CPM
Percent Complete Fields in P6
DCMA 14 Point Assessment